
Search our Help Guide
This article has been created by Thomas K Sharpless.
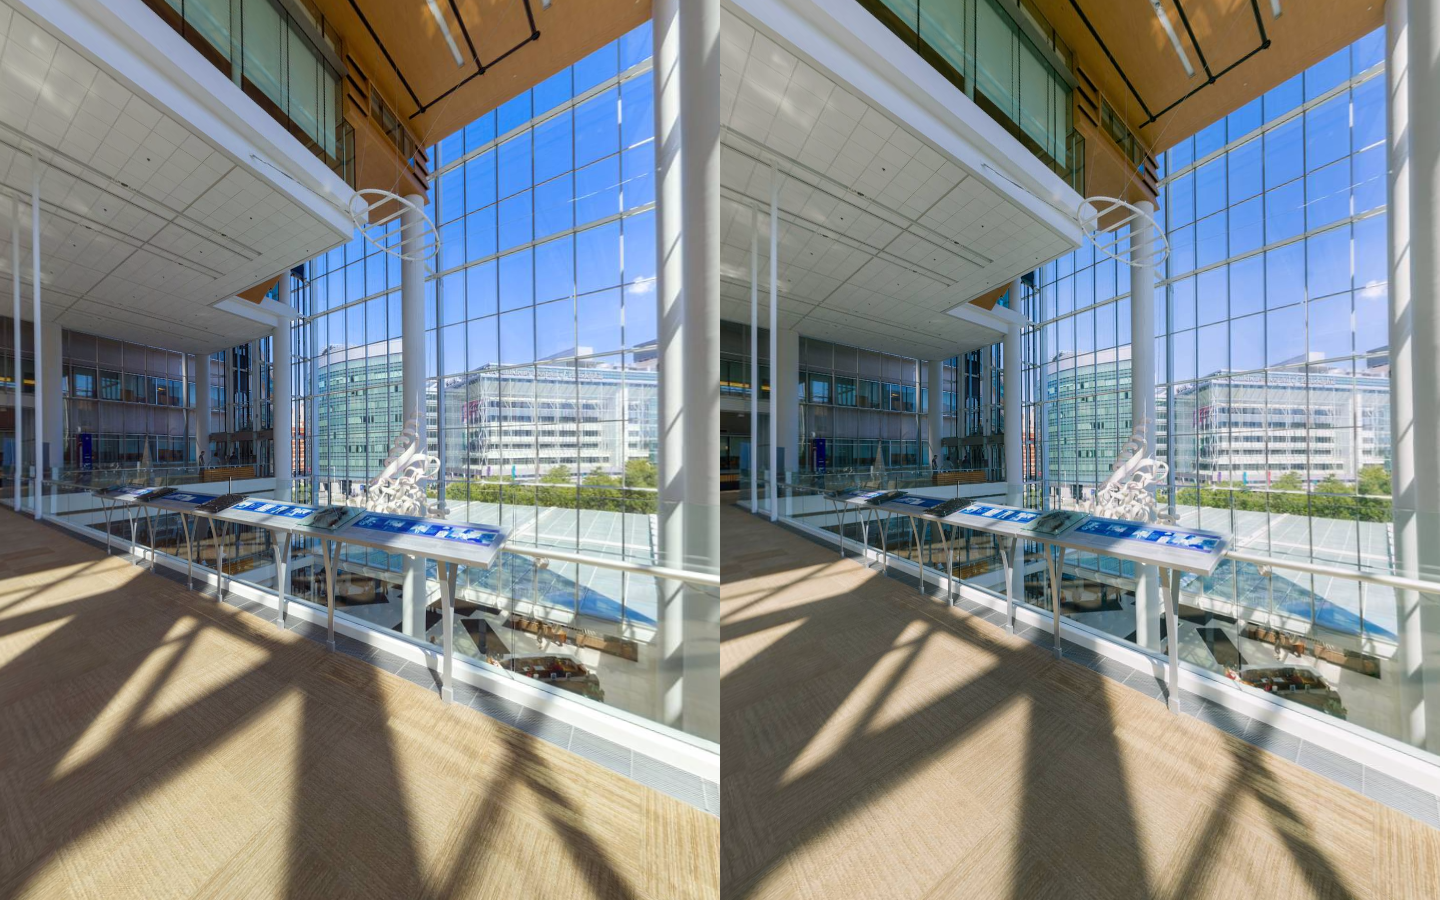
A stereoscopic photo is a pair of images, taken simultaneously with two lenses placed like our eyes, about 65 mm apart and looking in the same direction. When presented to the two eyes by a stereoscope, these images give most people the impression of seeing a 3D space. A stereoscopic panorama is a pair of 360 degree images, which when viewed with synchronized pano viewers presents a stereo pair. The most popular stereoscope for viewing stereo panoramas is a virtual reality headset.
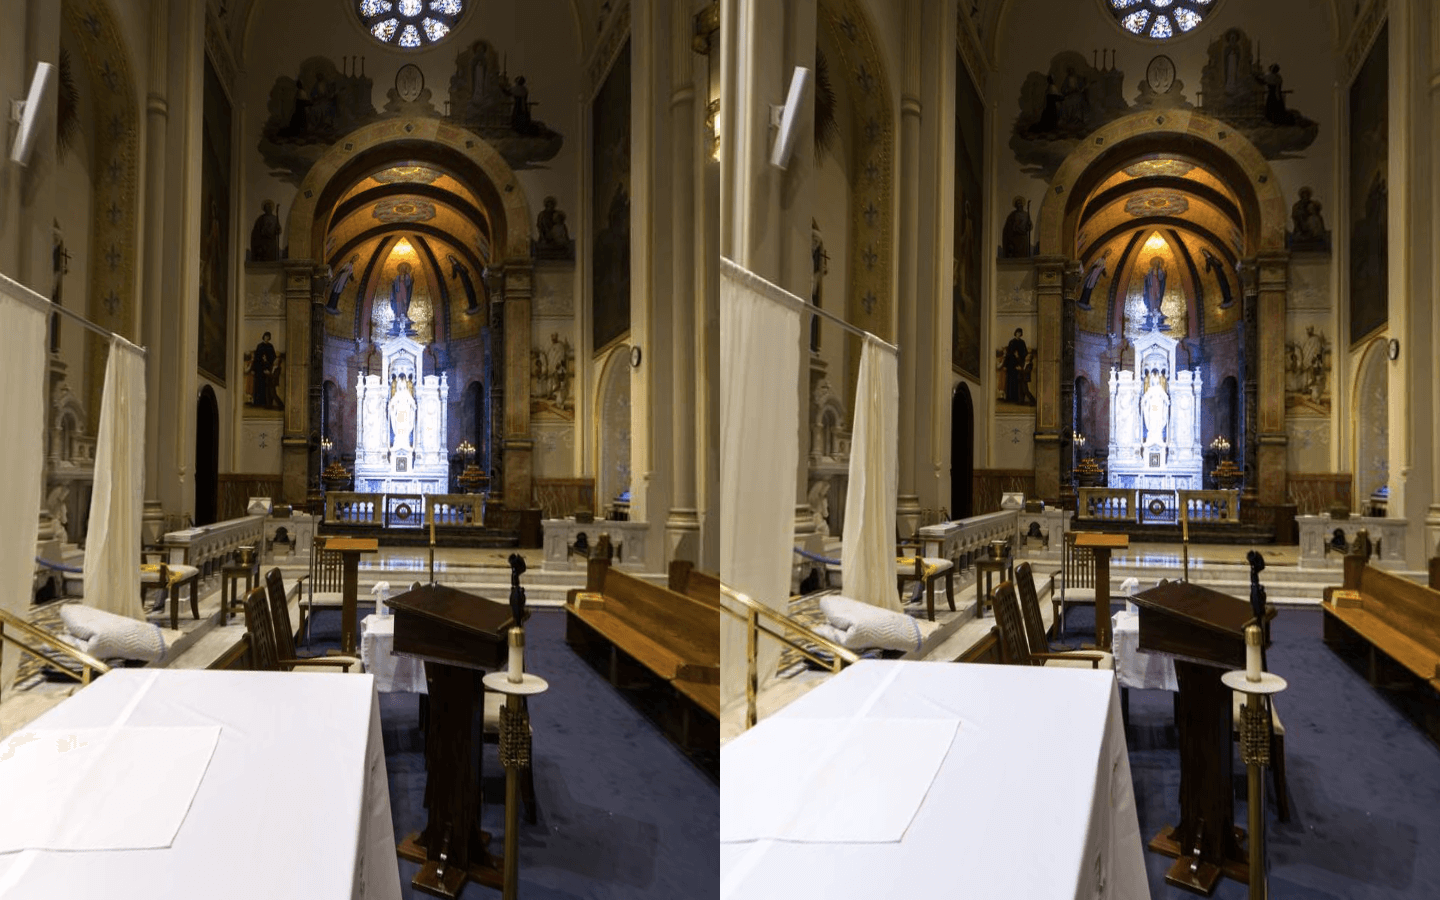
Stereoscopic depth perception results from the brain comparing small shifts of position, called discrepancies, between the left and right images. It is important to know that this process depends very strongly on fine details and textures, as well as the perceived outlines of objects. About one person in 6 has little or no stereo depth perception.
The most obvious way to make a stereo panorama is to stitch together a series of stereo photos, taken by turning a pair of cameras. But such photos will not easily stitch to two seamless spheres, because each series was taken from a moving viewpoint, not from a single fixed point as assumed by standard stitching software. There are two basic ways to handle this problem:
- Take a large number of closely spaced stereo views. Then the panorama contains just a narrow vertical strip from each photo. If they are narrow enough, the errors between adjacent strips will be too small to see. This method is very reliable but has problems with moving subjects.
- Take a small number of stereo views, as for a regular panorama, and hide the errors by careful composition and masking. Moving subjects can be handled by masking, as in normal panography.
Both methods have single-camera variants, that need a truly static subject because the left and right views are taken at different times. For the “many views” method, the camera is mounted with the pivot axis 35 - 50 mm behind the pupil of a wide fish-eye lens, and a single series of images is taken. Left and right spheres are stitched from narrow strips selected from the right and left sides respectively of the images. For the “few views” method, two series of photos are taken with the camera shifted sideways + or - 35 mm from the normal centered position, and each series is stitched to one sphere. This is often called the “cha-cha” method because of the sideways shift.
A stereo panorama must faithfully represent the left-eye and right-eye points of view. First of all, any difference between the lenses or the pointing directions of the cameras must be corrected, a process known as “rectifying” a stereo pair. Stereo Photo Maker is good for rectifying normal images but not so good for fish-eye images. The best approach for stereo panography is to calibrate each camera by stitching a 360 degree series, shot on-nodal with plenty of overlap, and use those calibrations for stitching the spheres. Camera alignment errors are a bit harder to correct in the stitcher, so it is best to align the cameras on the rig very carefully. It is possible in PTGui to “lock” the pitch or roll angles, making them the same for all images, and this can be used to correct alignment errors. Another very useful trick is to adjust the vertical lens shift parameter to reduce vertical parallax between left and right spheres. This is actually a more appropriate correction than pitch, in many cases.
Once rectified, he left and right images of each stereo pair must be aligned the same; any variation will lead to incorrect stereo views.. So one needs to use the same yaw, pitch and roll angles for both spheres. This is known as a stitching template.
There are several ways to make such a template. One way is to use a high precision pano head that can reposition the cameras with an error of less than a pixel, and simply give the stitcher those preset angles. This method achieves the ideal of aligning the images “at infinity”, which is to say, at the true pointing directions of the cameras.Other methods rely on control points and are therefore subject to errors due to the perspective changes between photos.
A reliable way to make a template from control points is to take one sphere “on-nodal” so that there is no alignment error due to parallax. With a two camera rig, mount one camera with its npp on the rotation axis. This has the disadvantage that the parallax errors in the other sphere will now be twice as big. A better scheme is to use 3 cameras, with the center one on-nodal. It will have to be above or below the main pair of cameras, and is used only for horizontal alignment. In this case the panohead should be stable enough that you can use the same roll and pitch settings for all views.
A third approach is to combine control points from both cameras, in such a way that the parallax errors largely “average out”, giving a reasonable approximation to an alignment at infinity. This can be a simple as copying CPs from the left sphere to the right one, and vice-versa -- unfortunately not easy to do with present stitching software. My program PT3D, a helper for PTGui, does something like that, and also handles rectification and viewpoint correction.. Usually it works very well, sometimes not. It works best when there are plenty of control points on distant scene points, however foreground control points are also helpful. Careful and creative CP placement makes a big difference.
Most stereo panoramas will need some manual masking -- often a great deal. As with any panorama, if there are moving subjects, you will need masks to select what is to be included and excluded. However even with static subjects, stereo panoramas typically have stitching errors. In most cases these errors can be hidden adequately by appropriate masking. All the techniques used for hiding errors in hand-held panoramas are applicable. However there is one new and very important rule. Seams must follow exactly the same paths, on the subject, in both left and right spheres.
It can be challenging to find good routes for the seams. Here are a few guidelines. 1] prefer horizontal or vertical seams to diagonal ones. 2] Place seams next to strong edges, on the more distant side but as close to the edge as feasible. 3] Use “hard” masks, meaning that all parts of each image not wanted in the panorama are masked out (red in PTGui). I really mean all. Use green masks to “push” the seams to where you want them. 4] Often you will need parallel red and green masks, with little or no space between, to force a seam into just the right place. Unfortunately in this situation PTGui’s blending algorithm creates nasty color bleed that can spoil the image. But if you export hard-masked layers to Photoshop and blend them there, they will be clean.
360 panoramas are best displayed interactively on a computer, smart phone, or smart TV. To show stereoscopic panoramas, the display must deliver the proper view to each eye. Most of the methods for viewing stereo photographs or movies have been adapted for displaying stereo panoramas.
The simplest is the anaglyph, a single color-coded image that can be displayed by a 2D panorama player.. When viewed through glasses having complementary colored lenses, a stereoscopic image is seen. The commonest type is the red-cyan anaglyph, easily made from RGB images by removing the red component from the right image, removing the green and blue components from the left image, and blending the results 50:50. Apart from simplicity this method has little to recommend it.
All other methods for stereo display require that the display engine handles two images in parallel. In effect, two synchronized panorama players are needed. That is the natural mode of virtual reality headsets. And today both major web panorama players, krpano and Pano2VR, support stereo images in VR mode. Moreover sView, a PC program designed for playing stereoscopic spherical video on 3D TVs, also plays still panoramas. So it is mainly a matter of packaging your left and right spheres appropriately for the chosen player. The details are still somewhat messy, and changing rapidly, so if I were to give instructions here they would likely be out of date before you read them. But publishing to VR devices is steadily getting easier.
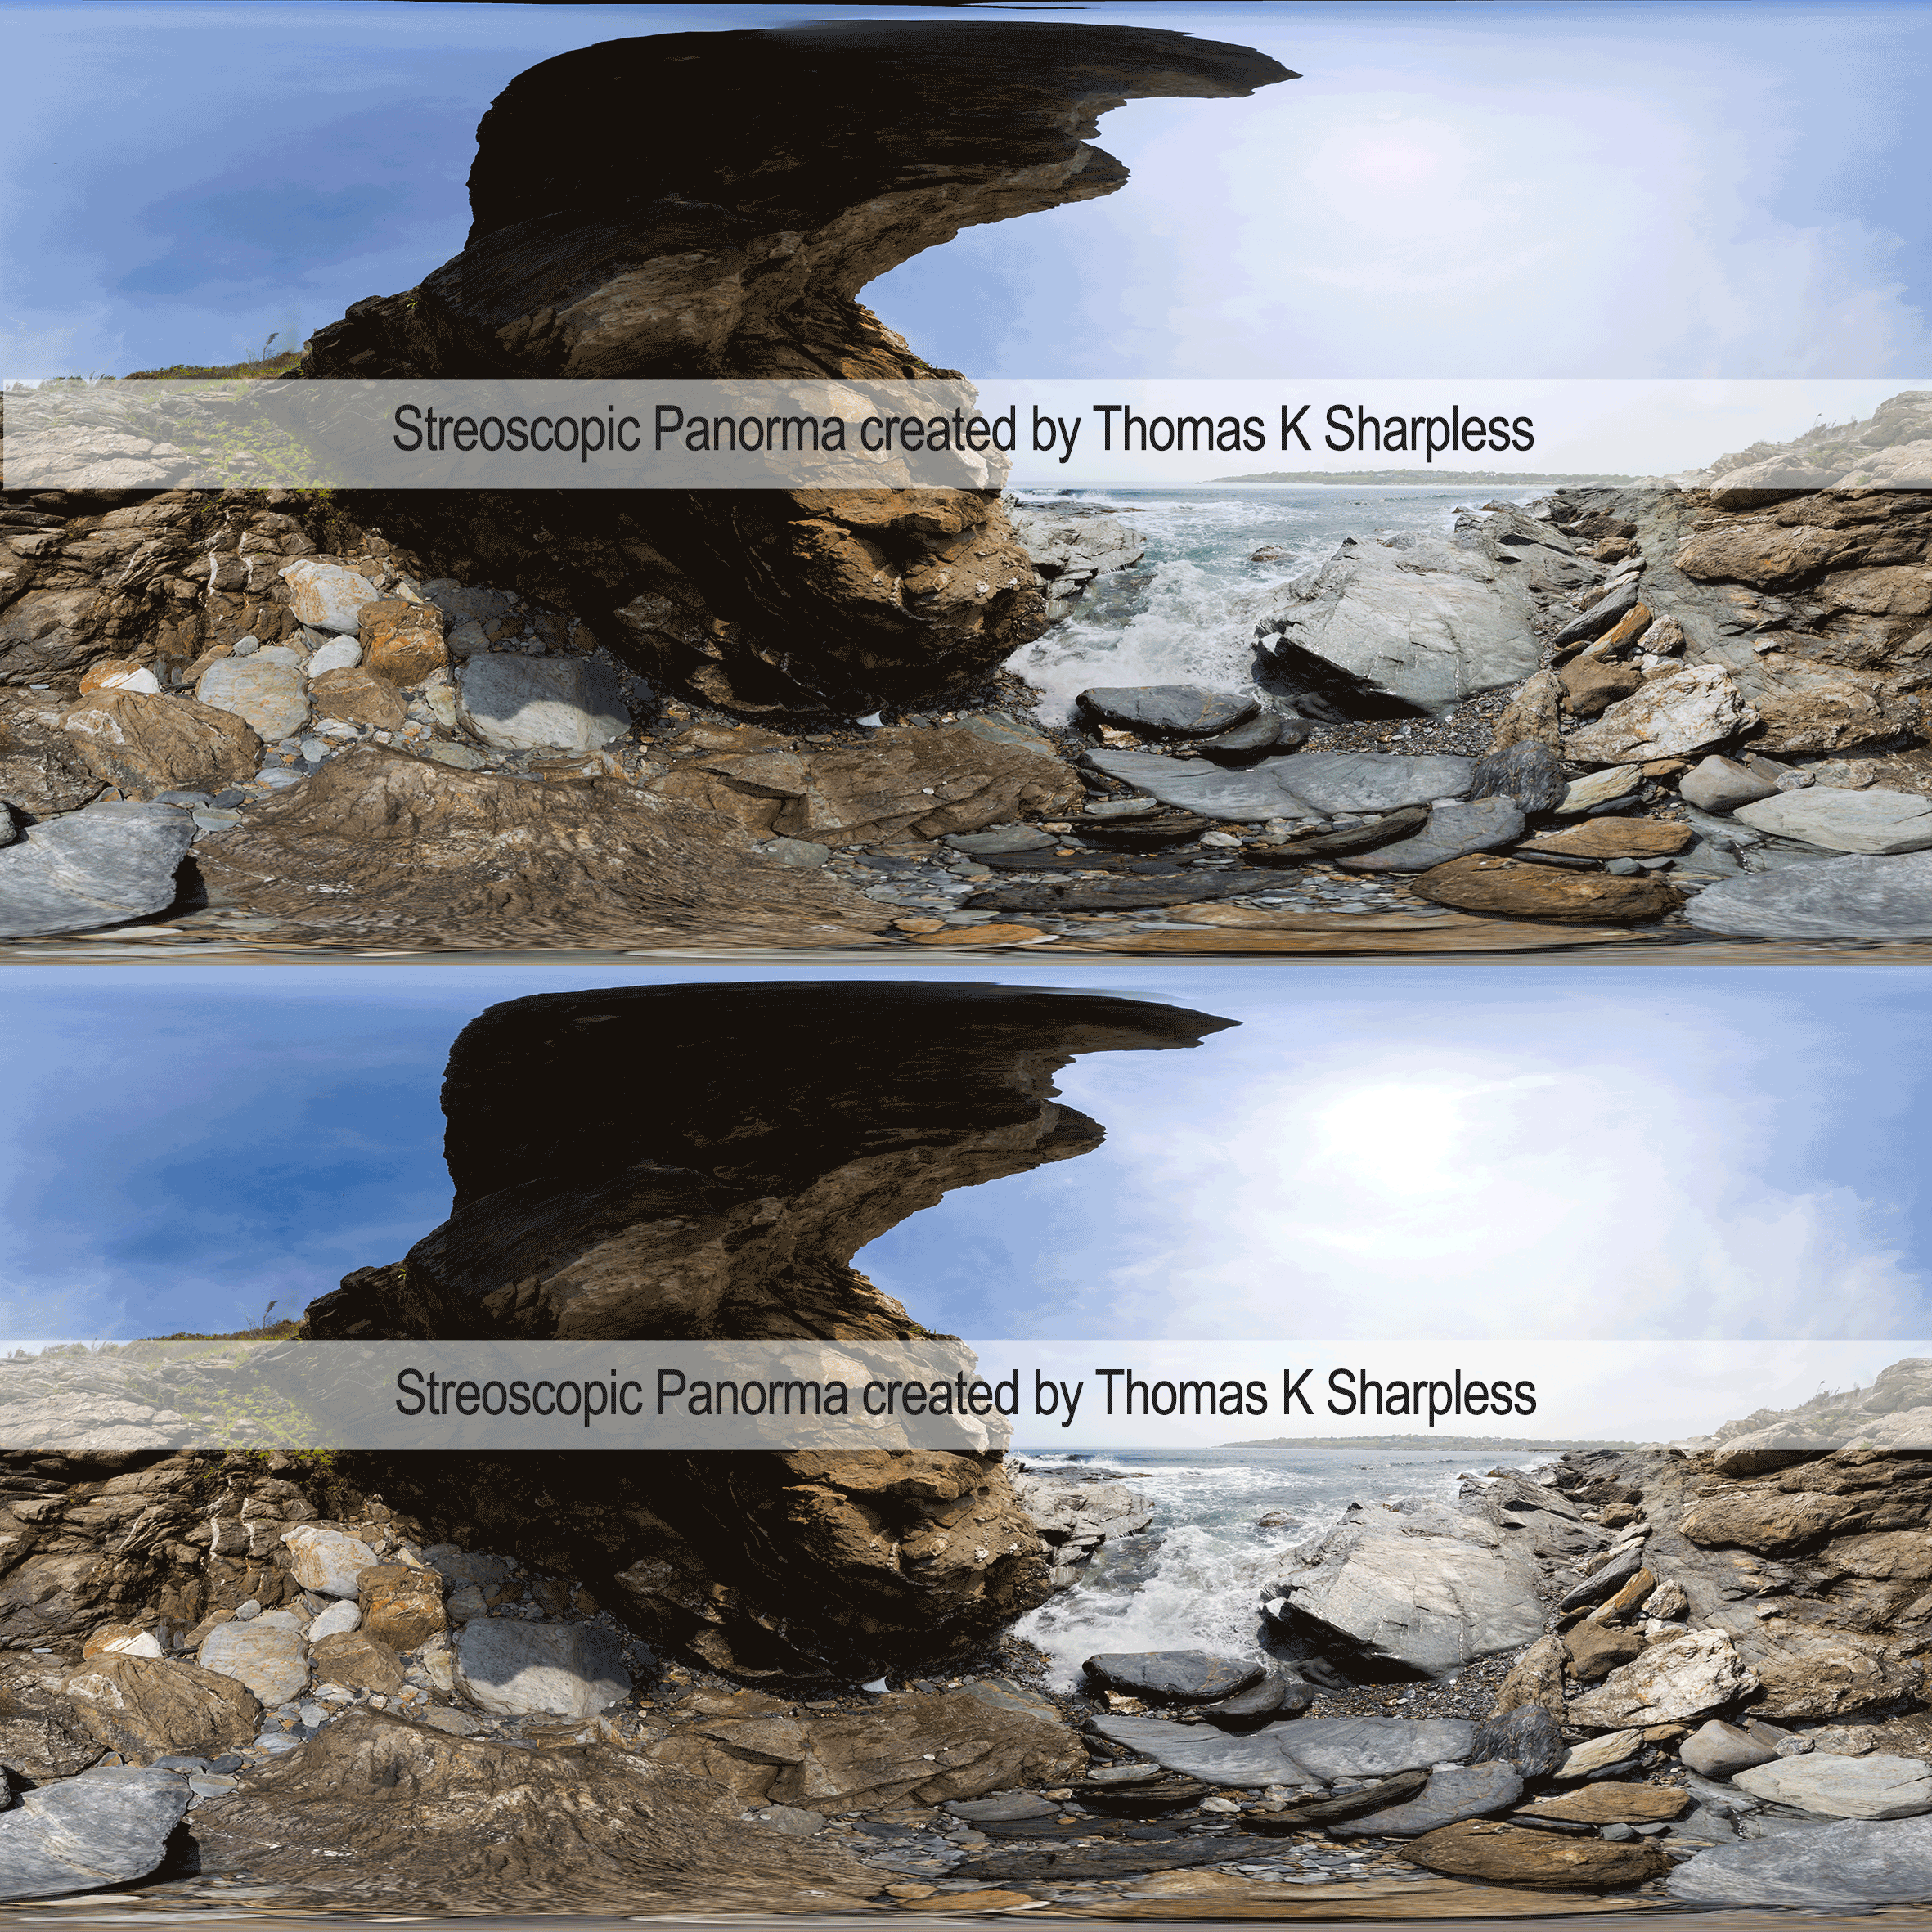
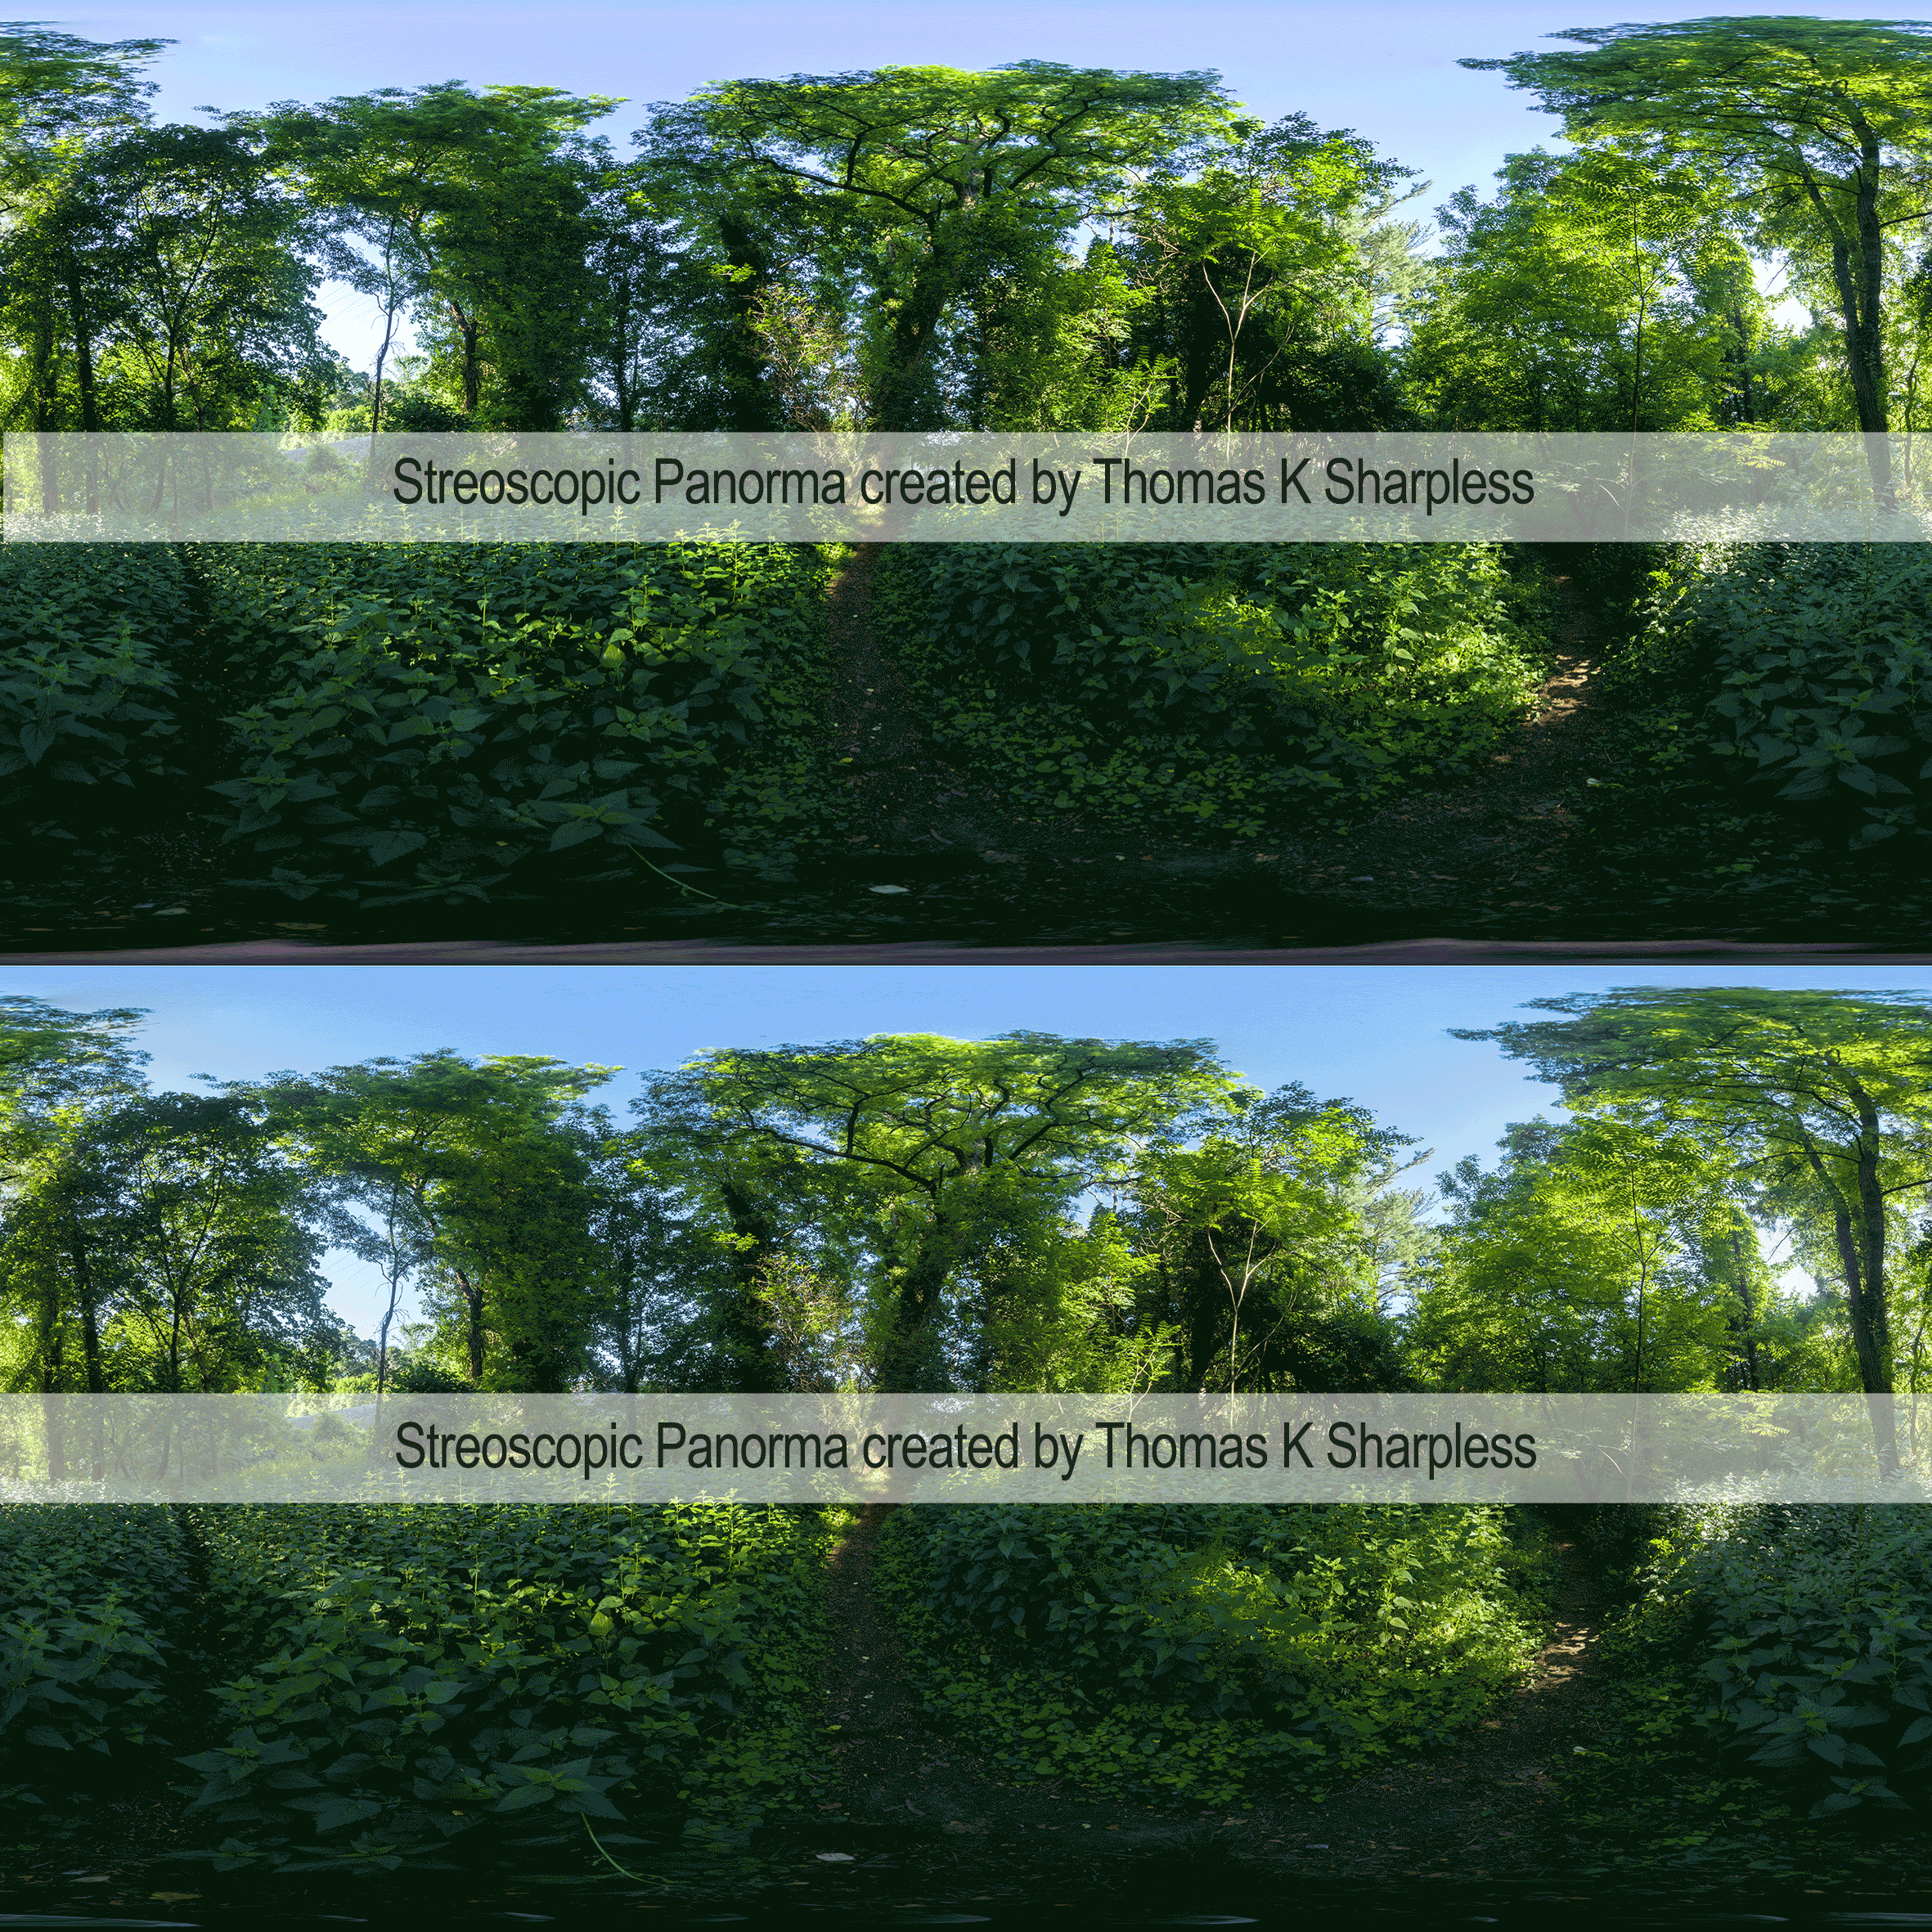
I can recommend two readymade web publishing solutions. Pano2VR version 5 makes authoring web-based stereo panoramas equally as convenient as 2D ones. It does take some learning, but that is time well spent if you want to host your own panoramas. And 360Cities, the premier web panorama platform, now accepts stereo panoramas. All you have to do is pack your equirectangular spheres in one file, with the left sphere on top. When you upload that square image, 360 cities will process it into a stereo panorama, that will be shown in stereo on VR devices and in 2D on the desktop.
Here are some stereo panoramas on 360Cities. They are best viewed on a smart phone in an open-frame VR viewer like Goggle Tech or Wearality Sky, because 360Cities supports finger-pan and pinch-zoom.
The most immersive way to view stereo panoramas on 360cities.net is in Virtual Reality (VR). You can enjoy the VR experience either by using a dedicated head mounted display (headset) like the Oculus Rift or HTC Vive or by using mobile devices with a VR headset like Google Cardboard or Samsung Gear VR, also with Samsung Internet for Gear VR.
It is a great feature that allows viewers to navigate from one stereoscopic panorama to another without having to take off their VR headset.

Go to the Stereo Gallery and click on:

You'll be able to navigate around the gallery from your desktop or your mobile device.
Rotate your head and body to choose the video you want to see; or change to a different gallery page to find more videos. With your VR device on, stare at the video chosen and it'll be opened for you.
Read More
Read More